
In the beginning there is carpal tunnel (Winding the first sound coil)
The purpose of this blog is to account for the effort of a first time theremin-builder, and provoke encouraging advice on possible improvements or other applications of the equipment used and built . Mistakes and successes will be given equal coverage in an attempt to help the reader learn as much as possible about the thrilling prospect of creating a Theremin!
For background on Theremins please see: Theremin World.
After collecting all the supplies necessary to build a working theremin according to Make the Theremin Circuit using only Radio Shack, I began building the first sound coil.
The supplies in this picture that I used for this step were

- 1" PVC cut to 3" length
- Radioshack red #30 wire
- double-sided tape 2" long
- the desire last night to start somewhere that did not require any specific skill
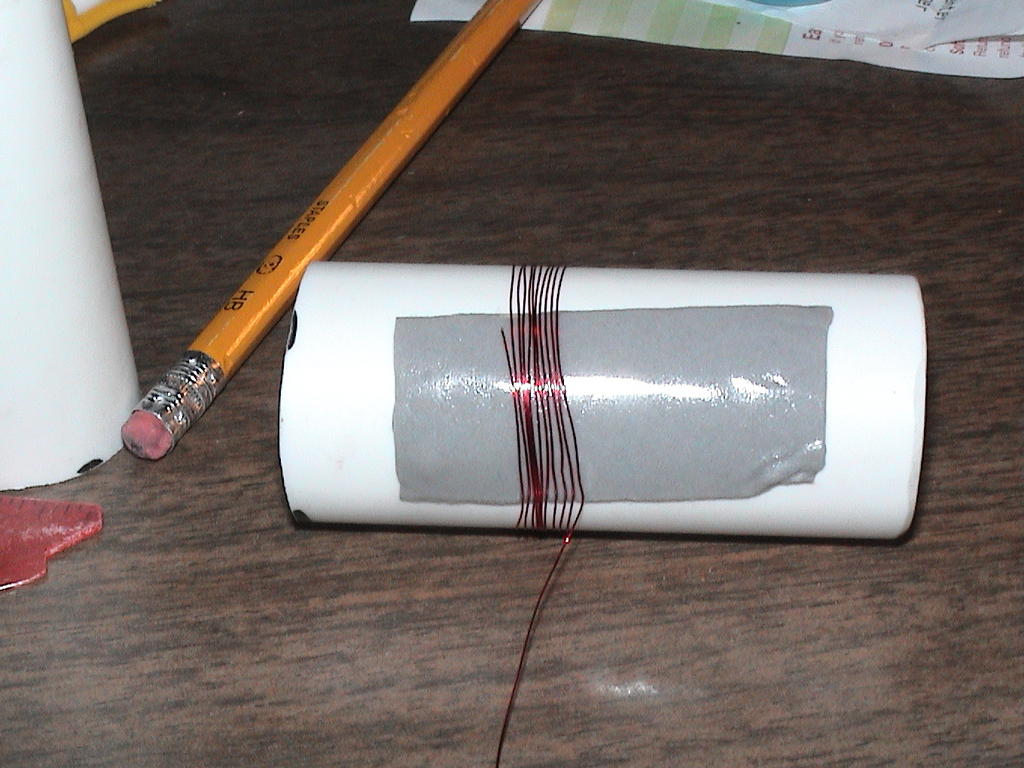
First attempt = lousy. There is no way I was going to fit 100 winds of cable with spacing like this. I decided to start over after wind number 18.
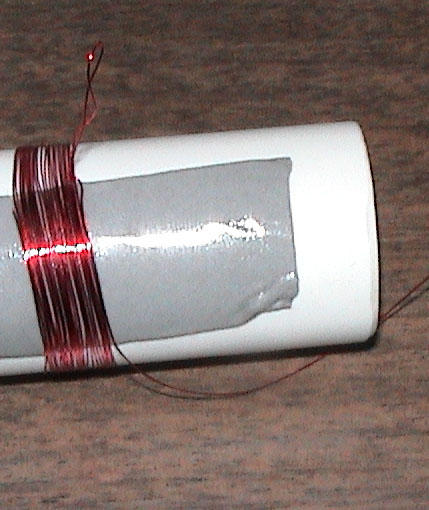
After wind 25 I make a loop for future circuit board/antenna connection.
I continue winding, making loops in turn 25, 50, and 75. Interesting to think of this plastic tube and wire as being responsible for shaping the sound in a musical instrument.
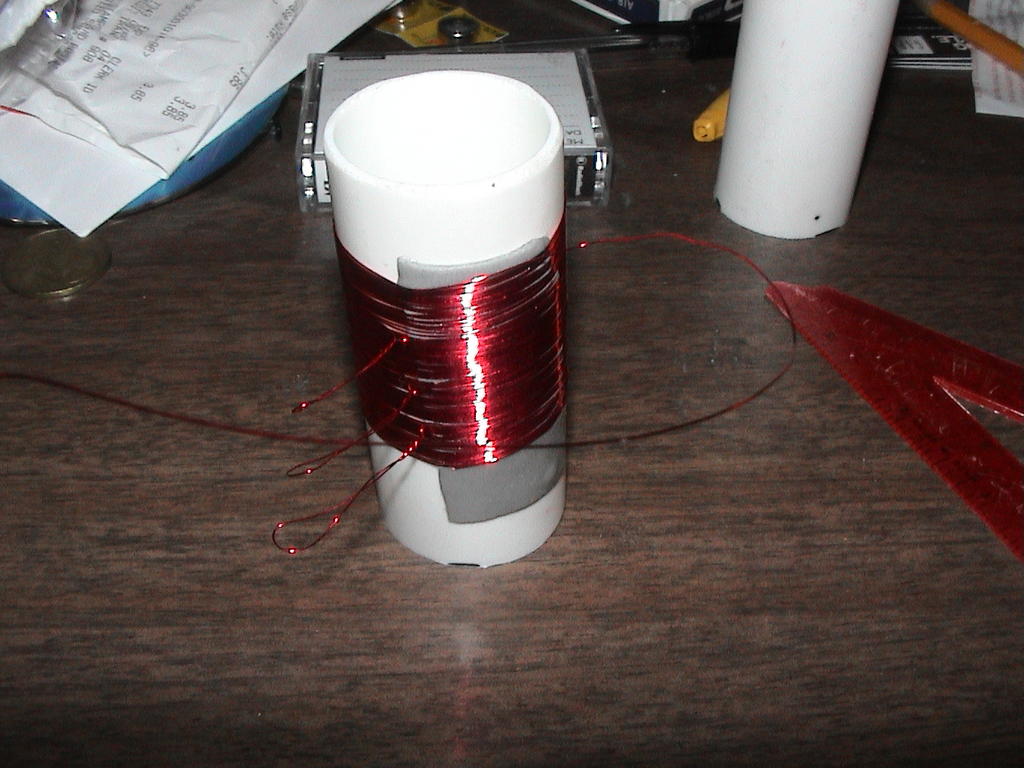
After winding wire for an hour or so my hand cried out for a break, and I decided that this was definetly a job for a robot. Mass-producing theremins such as these would definetly cause some form of carpal tunnel anxiety as a result of this cable winding process. Update on the slightly different process of winding coil number 2 coming tomorrow!
posted by DanO @ 12:36 AM
![]()
1 Comments:
nerd
Post a Comment
<< Home